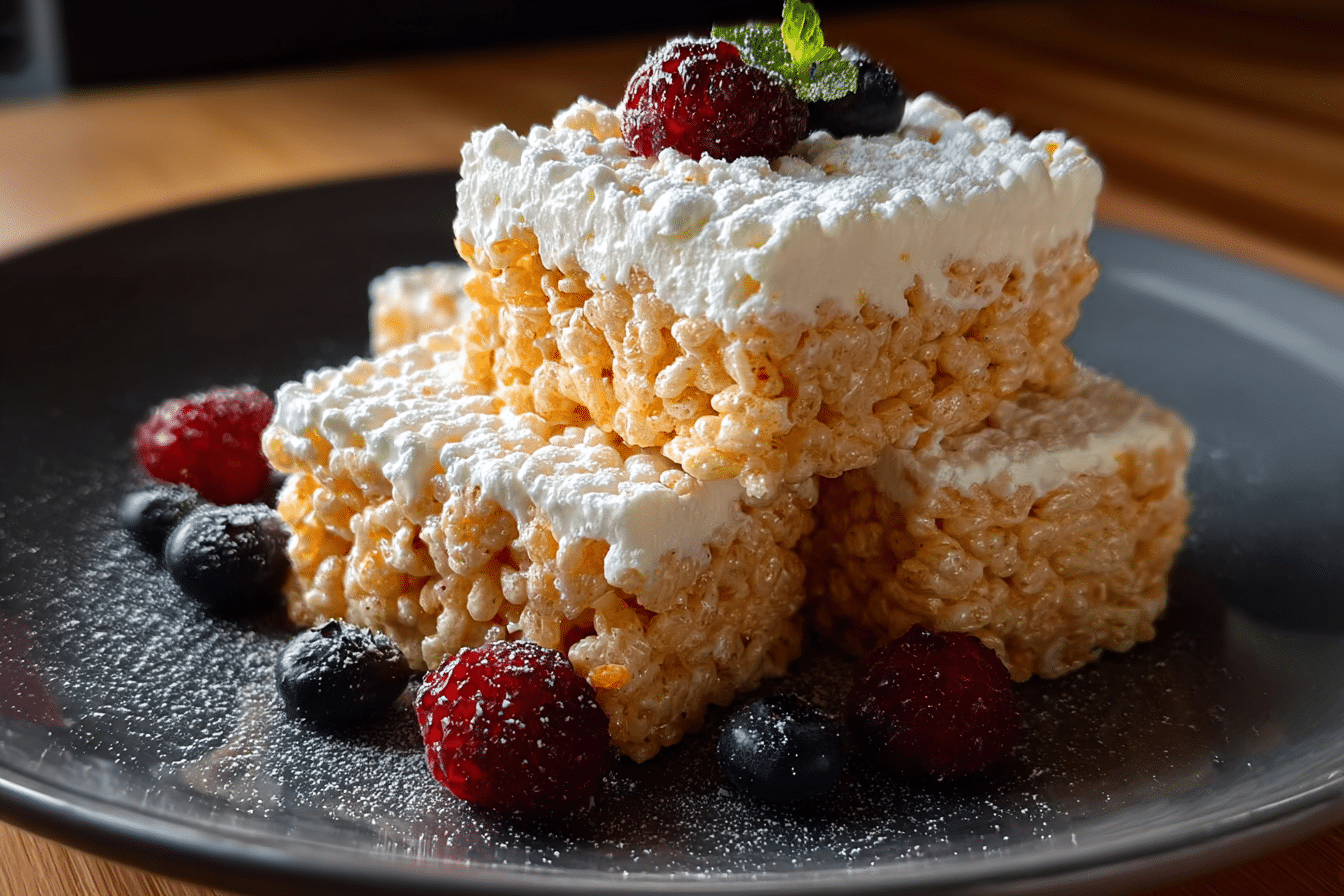
No-Bake Cheesecake Rice Krispies Treats – No Baking Required!
Okay, let’s talk about something dangerously delicious and ridiculously easy: No-Bake Cheesecake Rice Krispies Treats! These are a sweet twist on the childhood classic we all know and love but with a creamy, tangy cheesecake layer that takes things to a whole new level. Imagine biting into that gooey, marshmallowy crunch only to find a dreamy cheesecake filling sandwiched in the middle… I mean, come on. These little treats are fun, nostalgic, and totally addictive. And the best part? No oven, no stress, and no waiting around for things to cool. You just mix, layer, chill, and devour!
Why You’ll Love No-Bake Cheesecake Rice Krispies Treats
This recipe isn’t just about the ingredients it’s about creating moments. Whether you’re cooking for a casual family dinner, hosting a get-together with friends, or simply indulging in some comforting flavors for yourself, this dish is versatile enough to fit the occasion. Here’s why it’s a favorite:
Versatile: Great for birthdays, picnics, bake sales, or just treating yourself on a Tuesday. They travel well and look cute on any dessert table.
Budget-Friendly: No fancy tools or ingredients just a few pantry staples and you’re good to go.
Quick and Easy: You’ll be in and out of the kitchen in no time. No oven. No fuss.
Customizable: Add chocolate chips, fruit swirls, cookie crumbs whatever your heart (and sweet tooth) desires.
Crowd-Pleasing: A guaranteed hit with both kids and adults. It’s always a win when a single dish can satisfy everyone at the table. This recipe strikes the perfect balance of flavor and comfort, making it a universal favorite.
Ingredients in No-Bake Cheesecake Rice Krispies Treats
Let’s break down the simple magic that goes into these irresistible little squares of joy:
Rice Krispies Cereal
The classic crispy base. Light, crunchy, and perfect for soaking up that marshmallow gooeyness.
Mini Marshmallows
These get melted into a dreamy, sticky situation that holds everything together in the most delicious way.
Butter
For richness, flavor, and that glossy sheen. Butter makes everything better.
Cream Cheese
The creamy core of the cheesecake layer slightly tangy, ultra-smooth, and oh-so-satisfying.
Powdered Sugar
Adds sweetness to the cheesecake filling without making it grainy.
Vanilla Extract
Just a splash for warmth and flavor that rounds everything out beautifully.
Whipped Topping
Lightens up the filling and gives it that fluffy, airy texture. So good.
Instructions
Let’s dive into the steps to create this flavorful masterpiece:
Preheat Your Equipment
No preheating needed here hooray! But do lightly grease your 9×13 pan or line it with parchment paper to make cleanup a breeze.
Combine Ingredients
In a large pot over medium heat, melt the butter and mini marshmallows, stirring constantly until completely smooth and combined.
Prepare Your Cooking Vessel
Pour half of the Rice Krispies mixture into the greased or lined dish. Press it down evenly to form the base. Use a spatula or lightly greased hands.
Assemble the Dish
In a mixing bowl, beat together the cream cheese, powdered sugar, and vanilla extract until smooth. Fold in the whipped topping gently until everything’s fluffy and delicious. Spread this cheesecake layer over the first layer of treats.
Add the rest of the Rice Krispies mixture on top, pressing gently to create a sandwich effect. Make sure the layers are even for that perfect bite!
Cook to Perfection
No cooking needed just pop the dish into the fridge for at least 1 hour to let it set. This step helps everything firm up and hold its shape.
Finishing Touches
Once chilled, remove from the fridge and cut into squares or bars. Pro tip: use a warm knife for cleaner cuts!
Serve and Enjoy
These are best served slightly chilled or at room temperature. Trust me, one bite and you’ll be hooked.
Nutrition Facts
Servings: 12
Calories per serving: 290
(put them as notes)
Preparation Time
Prep Time: 20 minutes
Cook Time: 0 minutes
Total Time: 1 hour 20 minutes (includes chill time)
How to Serve No-Bake Cheesecake Rice Krispies Treats
This dish pairs wonderfully with various sides and accompaniments. Here are a few serving suggestions to enhance your dining experience:
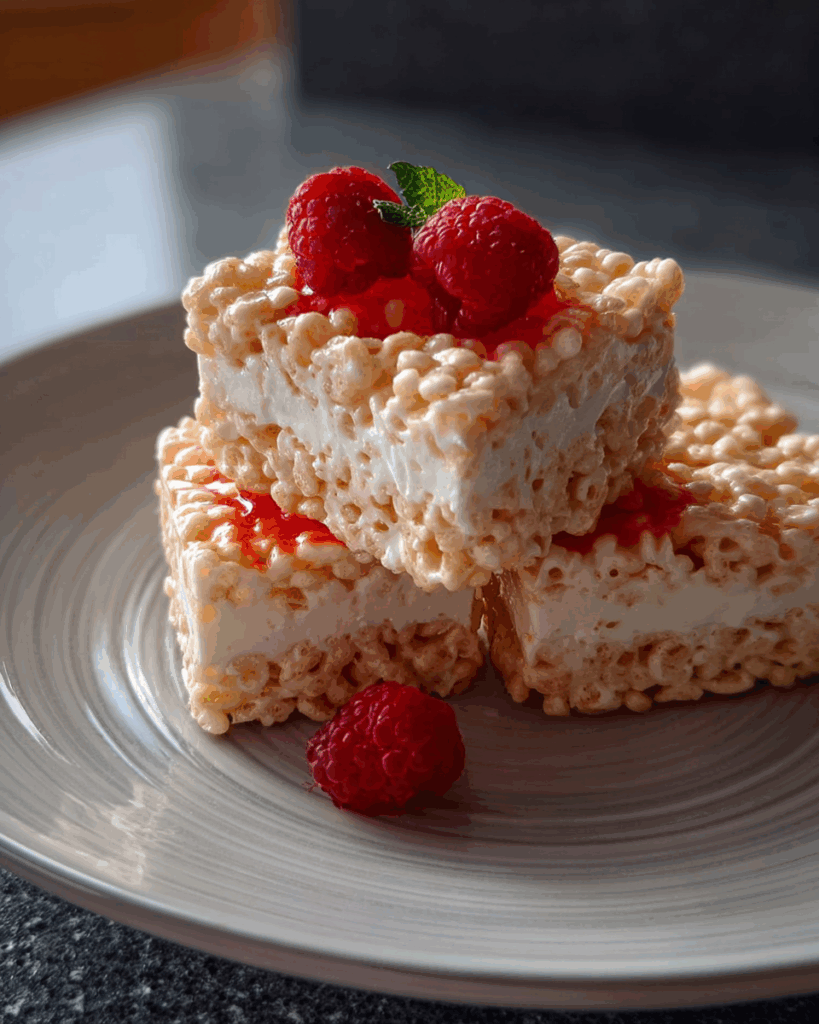
- Serve with fresh berries for a burst of color and flavor
- Drizzle with chocolate or caramel sauce for extra decadence
- Sprinkle crushed graham crackers or cookie crumbs on top
- Pair with iced coffee or milk for a cozy afternoon treat
- Pack in lunchboxes or gift boxes for a sweet surprise
Additional Tips
Here are some extra tips to help you get the most out of this recipe:
- Don’t overheat the marshmallows — low and slow is key to keep them soft and stretchy
- Use room temperature cream cheese to avoid lumps in your filling
- Gently fold in the whipped topping to keep the texture light and airy
- Lightly grease your hands or spatula when pressing down the cereal layers to prevent sticking
- For extra flavor, mix crushed graham crackers into the base layer
- Add mini chocolate chips or sprinkles between layers for a fun twist
- Let the treats fully chill before cutting for cleaner edges
- Store leftovers in the fridge in an airtight container for up to 4 days
- You can freeze them too just wrap tightly and thaw before serving
- Make them festive by adding food coloring or themed sprinkles for holidays
FAQ’s
1. Can I use regular marshmallows instead of mini?
Yes! Just chop them up a bit so they melt faster and more evenly.
2. Can I use homemade whipped cream instead of store-bought?
Absolutely just whip heavy cream with a bit of sugar until fluffy.
3. Can I make these ahead of time?
Yes, they’re great for prepping a day in advance. Just store covered in the fridge.
4. Can I add fruit to the cheesecake layer?
You sure can! Try folding in chopped strawberries, blueberries, or even lemon zest.
5. Are these freezer-friendly?
Definitely. Wrap tightly and freeze for up to 1 month. Thaw before serving.
6. Can I skip the cheesecake layer?
You could… but it’s what makes these treats extra special. Highly recommend keeping it!
7. What’s the best way to cut them cleanly?
Use a sharp knife dipped in warm water and wipe clean between cuts.
8. Can I use flavored Rice Krispies?
Why not! Strawberry or chocolate versions would add a fun twist.
9. Is there a vegan version?
Yes use vegan marshmallows, dairy-free butter, and plant-based cream cheese/topping.
10. Can I make these gluten-free?
Just be sure to use certified gluten-free Rice Krispies and check all ingredient labels.
Conclusion
No-Bake Cheesecake Rice Krispies Treats are everything you love about nostalgic desserts with a grown-up twist that’s still totally fun and comforting. They’re creamy, crunchy, sweet, and completely irresistible and best of all, they come together in a flash with zero baking involved. Whether you’re making a treat for your family, a party platter, or just something to snack on during your favorite Netflix binge, this recipe delivers big flavor with little effort. Go on, make a batch your inner child (and your sweet tooth) will thank you!
Print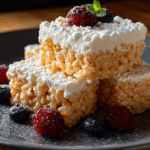
No-Bake Cheesecake Rice Krispies Treats – No Baking Required!
- Prep Time: 20 mins
- Cook Time: 0 mins
- Total Time: 1 hr 20 mins (including chilling)
- Yield: 16 bars 1x
- Category: Dessert
- Method: No-Bake
- Cuisine: American
- Diet: Vegetarian
Description
No-Bake Cheesecake Rice Krispies Treats combine the gooey, crispy texture of classic Rice Krispies with a creamy cheesecake layer on top. These layered bars are quick to make, require no baking, and are perfect for potlucks, parties, or summer treats.
Ingredients
- 3 tbsp unsalted butter
- 1 package (10 oz) mini marshmallows
- 6 cups Rice Krispies cereal
- 8 oz cream cheese, softened
- 1/2 cup powdered sugar
- 1 tsp vanilla extract
- 1 cup whipped topping (like Cool Whip)
- Optional: fresh berries or crushed graham crackers for garnish
Instructions
- In a large saucepan, melt butter over low heat. Add marshmallows and stir until fully melted and smooth.
- Remove from heat and stir in Rice Krispies cereal until evenly coated.
- Press the mixture firmly into a greased 9×13-inch pan. Let cool completely.
- In a medium bowl, beat cream cheese, powdered sugar, and vanilla until smooth.
- Fold in whipped topping until light and creamy.
- Spread the cheesecake mixture evenly over the cooled Rice Krispies base.
- Chill in the refrigerator for at least 1 hour before slicing into bars.
- Top with fresh berries or graham cracker crumbs before serving, if desired.
Notes
- Use parchment paper for easier removal and cleaner slicing.
- For extra flavor, add a dash of lemon zest to the cheesecake mixture.
- Store covered in the fridge for up to 3 days.
Nutrition
- Serving Size: 1 bar
- Calories: 180
- Sugar: 15g
- Sodium: 110mg
- Fat: 7g
- Saturated Fat: 4g
- Unsaturated Fat: 2g
- Trans Fat: 0g
- Carbohydrates: 26g
- Fiber: 0g
- Protein: 2g
- Cholesterol: 15mg
Keywords: no-bake cheesecake bars, Rice Krispies treats, no oven dessert, easy summer dessert, layered bars